

Hey there! If you're planning to install a ceiling fan, you're in the right place. I'm a supplier of leveling rulers, and I'm here to share with you how to use a leveling ruler for this task. A good leveling ruler can make the installation process a whole lot easier and ensure that your ceiling fan is installed perfectly.
First things first, let's talk about why using a leveling ruler is so important when installing a ceiling fan. A ceiling fan that's not level can wobble, make noise, and even pose a safety risk. By using a leveling ruler, you can make sure that the fan is installed straight and balanced, which will not only make it look better but also extend its lifespan.

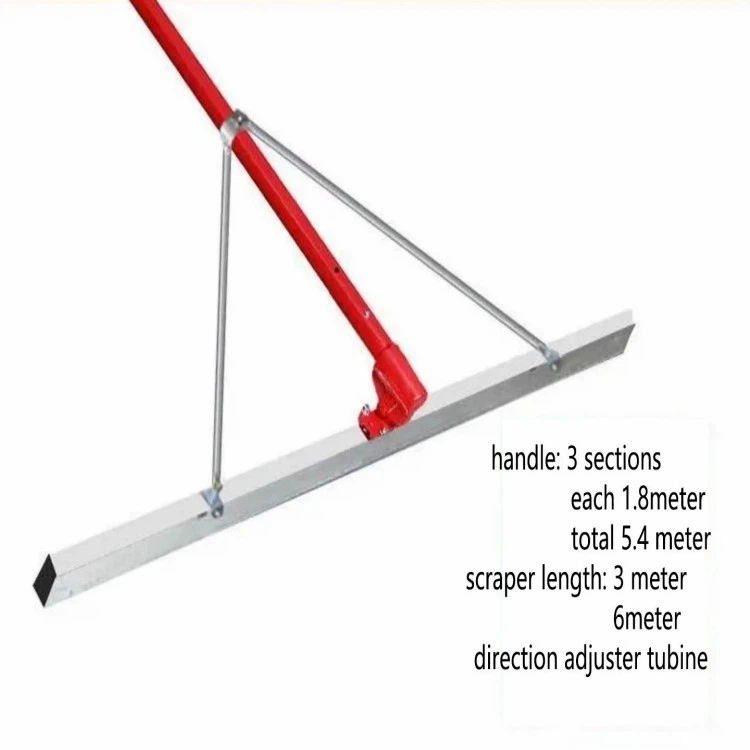
Step 1: Gather Your Tools
Before you start, you'll need to gather all the necessary tools. Besides the leveling ruler, you'll also need a screwdriver, a drill, a ladder, and of course, the ceiling fan itself. Make sure you have everything within reach so you don't have to keep running around looking for tools.
Step 2: Choose the Right Leveling Ruler
There are different types of leveling rulers available in the market. For ceiling fan installation, a small, handheld leveling ruler is usually sufficient. Look for one that's easy to read and has a reliable bubble level. Our leveling rulers are made with high - quality materials and are very accurate. You can also check out some of our other products like the Gasoline Power Screed, Warehouse Floor Power Screed, and 4m Aluminum Power Screed if you have other leveling needs.
Step 3: Mark the Ceiling
Use a pencil to mark the center of the ceiling where you want to install the fan. You can use a measuring tape to find the exact center. Then, draw a cross on the ceiling to indicate the position of the mounting bracket. Make sure the lines are straight. You can use your leveling ruler to check the straightness of the lines as you draw them. Place the leveling ruler along the line and adjust it until the bubble in the level is centered. This ensures that your markings are accurate.
Step 4: Install the Mounting Bracket
Once you have your markings, it's time to install the mounting bracket. Drill holes in the ceiling according to the markings and insert the appropriate anchors. Then, attach the mounting bracket to the ceiling using screws. Use your leveling ruler to make sure the mounting bracket is level. Place the leveling ruler on top of the bracket and check the bubble. If it's not centered, adjust the bracket until it is. This step is crucial because if the mounting bracket is not level, the entire fan will be off - balance.
Step 5: Attach the Fan Motor Housing
After the mounting bracket is securely in place, it's time to attach the fan motor housing. Lift the motor housing and align it with the mounting bracket. There are usually holes in the motor housing that match the holes in the bracket. Insert the screws and tighten them. Again, use your leveling ruler to double - check the levelness of the motor housing. You can place the leveling ruler on different parts of the housing to make sure it's straight from all angles.
Step 6: Install the Blades
Now comes the fun part - installing the blades. Most ceiling fans come with pre - drilled holes in the blade brackets. Align the blades with the brackets and insert the screws. Make sure the blades are evenly spaced around the motor housing. You can use the leveling ruler to check if the blades are at the same height. Place the leveling ruler across two adjacent blades and check the bubble. If one blade is higher than the other, adjust the screws until they are level. This will help prevent the fan from wobbling when it's running.
Step 7: Final Checks
Once you've installed all the blades, give the fan a final check with the leveling ruler. Check the motor housing, the blades, and the overall position of the fan. Make sure everything is level and secure. If you notice any issues, make the necessary adjustments. You can also turn on the fan at a low speed to see if it wobbles. If it does, go back and check the levelness again.
Tips and Tricks
- When using the leveling ruler, make sure it's clean and free of any debris. Dirt or dust can affect the accuracy of the bubble level.
- If you're having trouble getting the fan perfectly level, you can use shims under the mounting bracket to make small adjustments.
- Take your time during the installation process. Rushing can lead to mistakes, and it's better to get it right the first time.
Why Choose Our Leveling Rulers
As a leveling ruler supplier, we take pride in our products. Our leveling rulers are designed to be durable, accurate, and easy to use. We use high - quality materials in the manufacturing process, which ensures that they can withstand regular use. Whether you're a DIY enthusiast or a professional contractor, our leveling rulers are a great choice for all your leveling needs.
If you're interested in purchasing our leveling rulers or any of our other products like the Gasoline Power Screed, Warehouse Floor Power Screed, and 4m Aluminum Power Screed, don't hesitate to reach out. We're always happy to discuss your requirements and help you find the right product for your project. Contact us for more information and let's start a great business relationship!
References
- "Ceiling Fan Installation Guide" from a well - known home improvement magazine.
- Personal experience as a leveling ruler supplier and installer.


